Notice: Different projects requires different Serial UART JPEG Camera parameters which are COST SENSITIVE. We advice to confirm camera parameters via blue button "OEM from us" below & submit them to us first. Then we quote a reasonal price for the CUSTOMIZED CAMERA.

- Specification
- Package
- Testing
- Downloads
| Sensor | |||
| Type | 1/3 CMOS Progressive Sensor | ||
| AEC | Yes | ||
| AGC | Yes | ||
| AWB | Yes | ||
| Shutter | Automatic Electronic Shutter | ||
| Lens | |||
| Type | Double-peak 850-IR Lens (Def.) | ||
| Mount | M12 | ||
| Focal Length (mm) | 2.8(Def.) / 3.6 / 6 / 8 / 12 | ||
| F.O.V (D.H.V) | 120° , 90° , 75° | ||
| Iris | Fixed | ||
| Infrared Led | |||
| IR Led | 54pcs 850 IR Leds (Def.) | ||
| Minimum Illumination | 0 Lux (IR ON) | ||
| 0.0001Lux (IR OFF) | |||
| Night Vision | 30 Meter | ||
| Day/Night Switch | Built-in ICR with Light Resister | ||
| Image | |||
| Resolution | 1600*1200 / 1280*1080 / 960P / 1280*800 / 720P / 800*600 / VGA | ||
| Pixels | 2.0 Mega Pixels | ||
| Compression | JPEG Format | ||
| Day Mode | Color Image | ||
| Night Mode | Black & White Image | ||
| Mirror | Erect image with normal installation / flip installation | ||
| Communication | |||
| UART Interface | RS232(Def.) / RS485 / TTL | ||
| ID No. | "0"(Def.) | ||
| Data Frame Type | 8+n+1 | ||
| Baud Rate (bps) | 2400 / 9600 / 14400 / 19200 / 38400 / 57600 / 115200(Def.) | ||
| Protocol | TV Protocol(Def.) | ||
| Testing Software | SC20MPD Test Tool | ||
| Power | |||
| Power Supply | 12V | ||
| Standby Current | 70mA@6V | ||
| Working Current | IR Off: 100mA @ 12V | ||
| IR On: 800mA @ 12V | |||
| Environment | |||
| Operate Temperature | -20°C~70℃ (-4°F~158°F) | ||
| Operate Humidity | 10%~85% Non-condensing | ||
| Storage Temperature | -25°C~75℃ (-13°F~167°F) | ||
| Storage Huidity | 0%~90% Non-condensing | ||
| Cable | |||
| Cable Type | Shielded Line / Non-shielded Line(Def.) | ||
| Cable Length | 1 Meter(Def.) | ||
| Connector | |||
| Connector | Wire Lead Only(Def.) / DB9 Female Connector / Others | ||
| Standard Pin Des. | PIN 1: VCC (Red Wire) | ||
| PIN 2: TXD (Green / White Wire) | |||
| PIN 3: RXD (Yellow Wire) | |||
| PIN 5: GND (Black Wire) | |||
| Physical Index | |||
| IP Grade | IP66/67 | ||
| Net Weight (kg) | 0.69 (for Reference) | ||
| Product Size (mm) | 191*112*95 | ||
1 -- Inner Package
Material: Gift Box; 1 Unit per Box

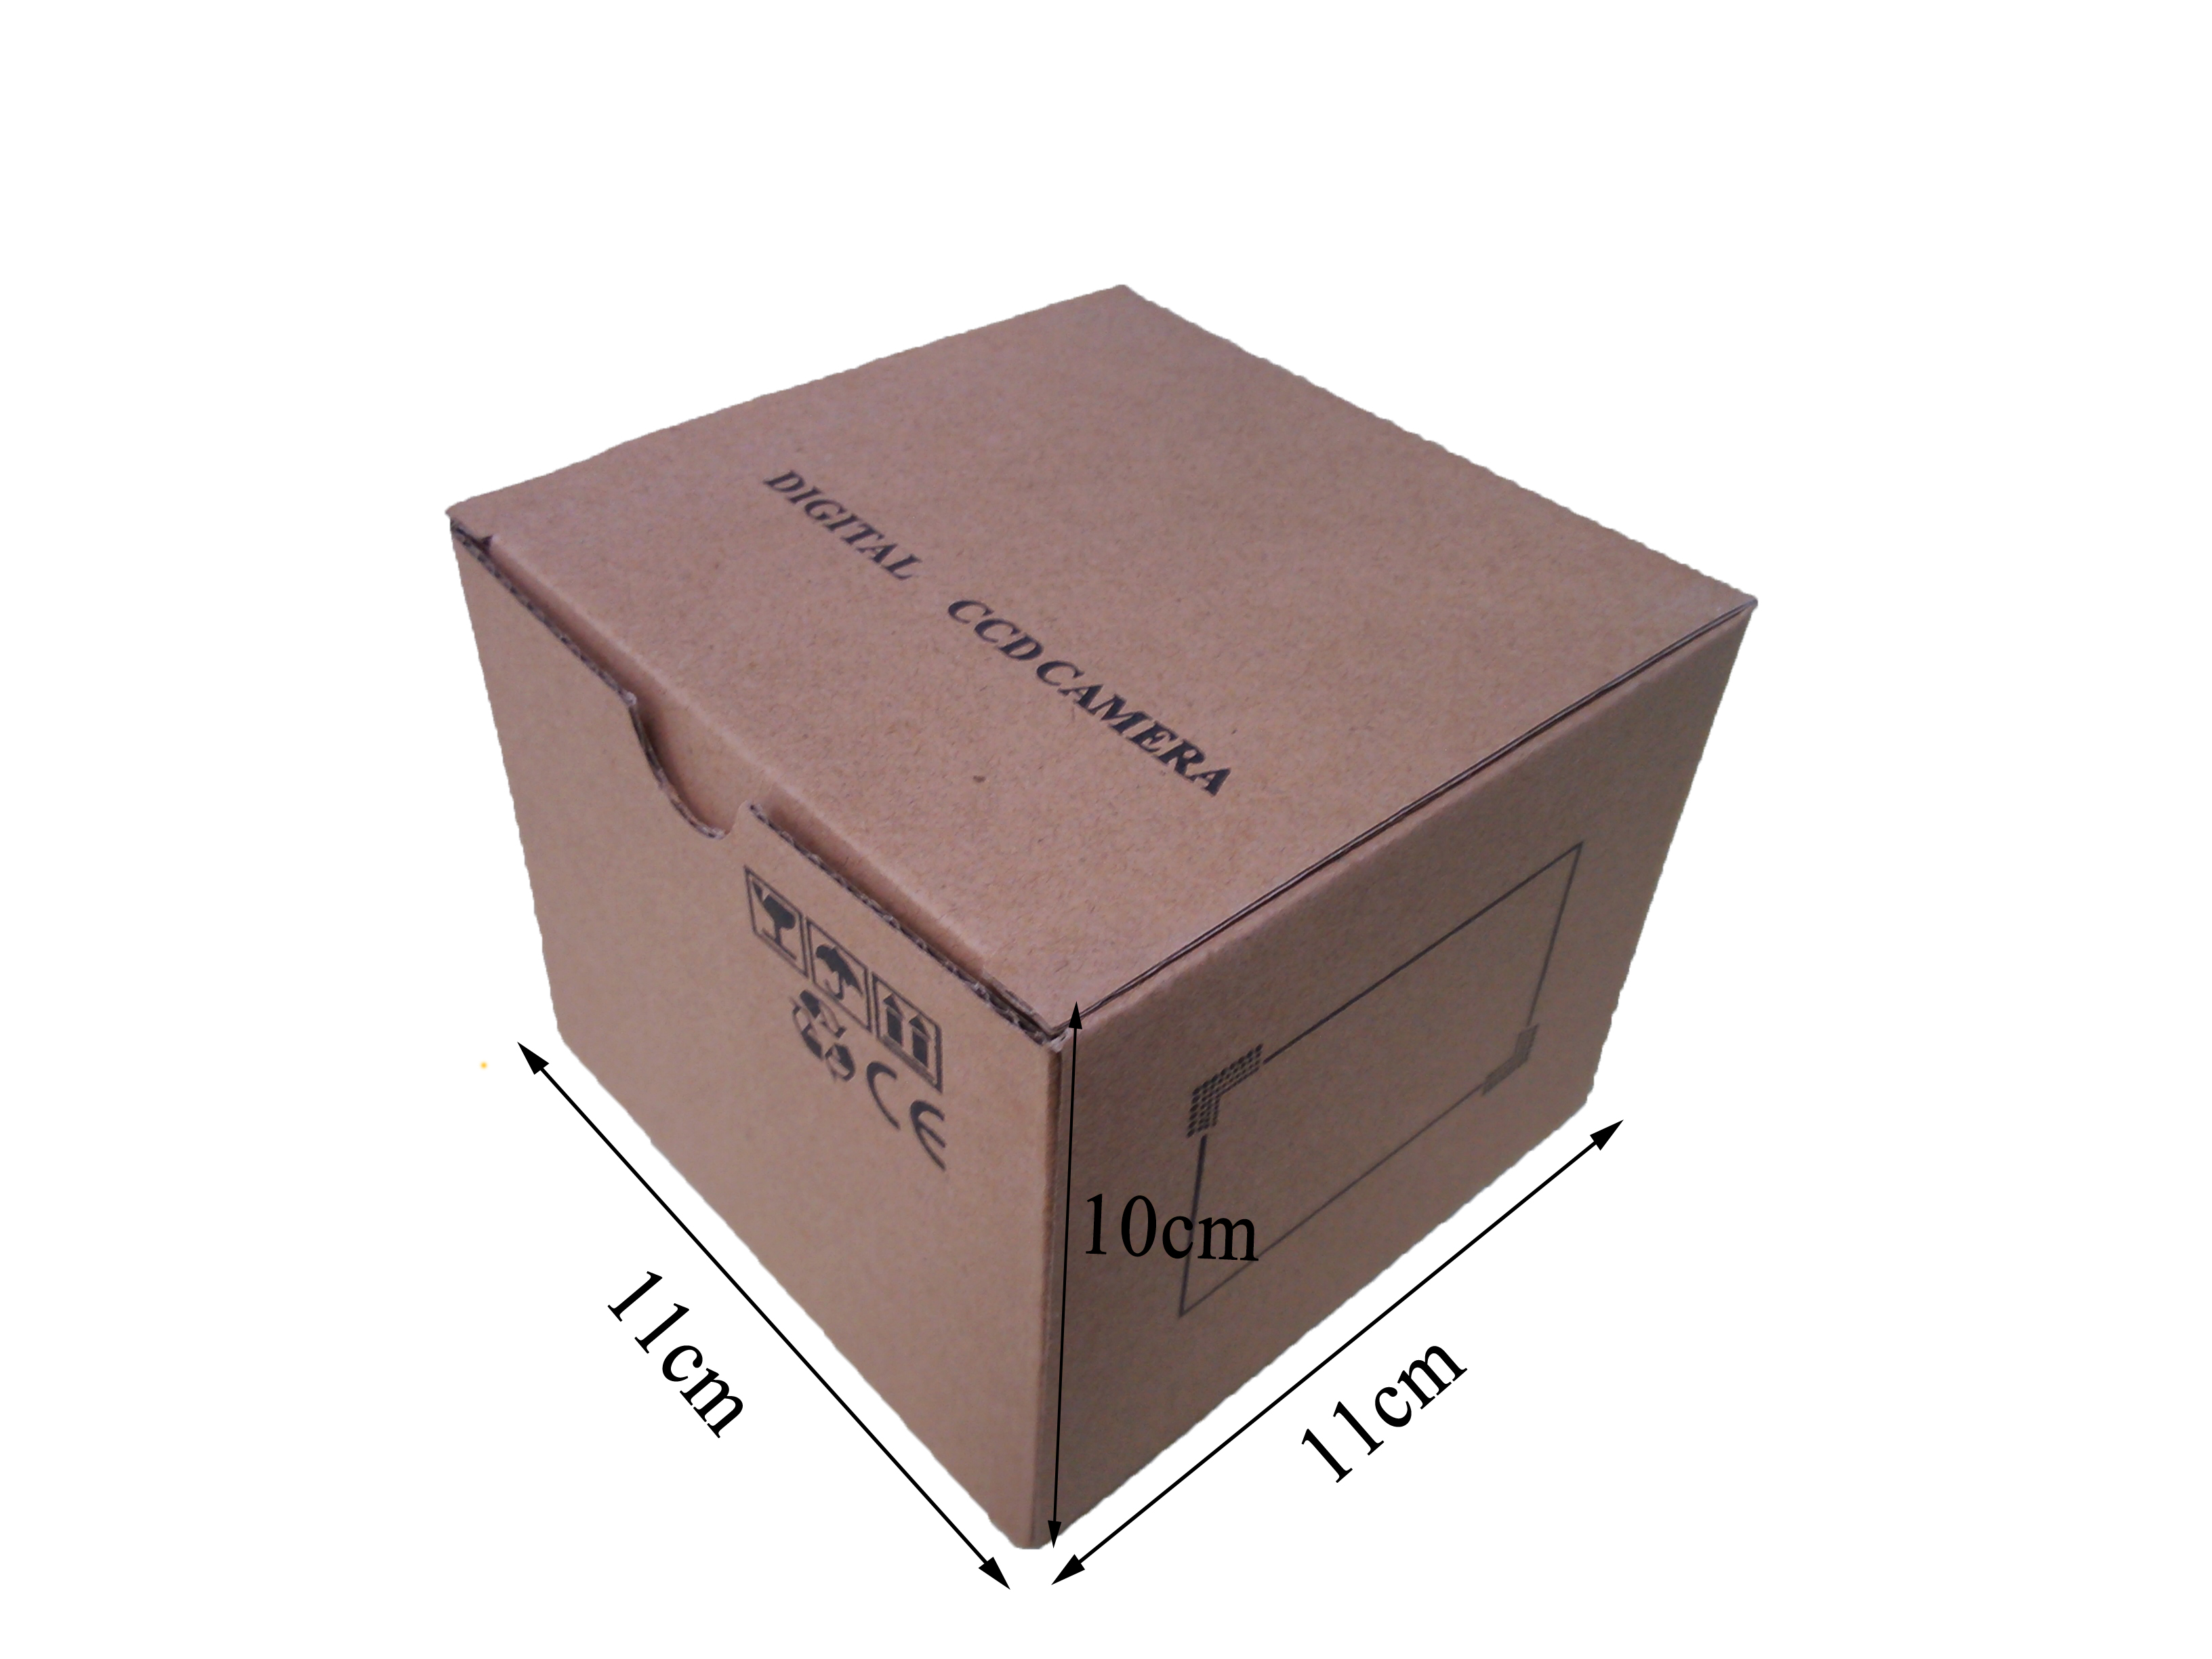
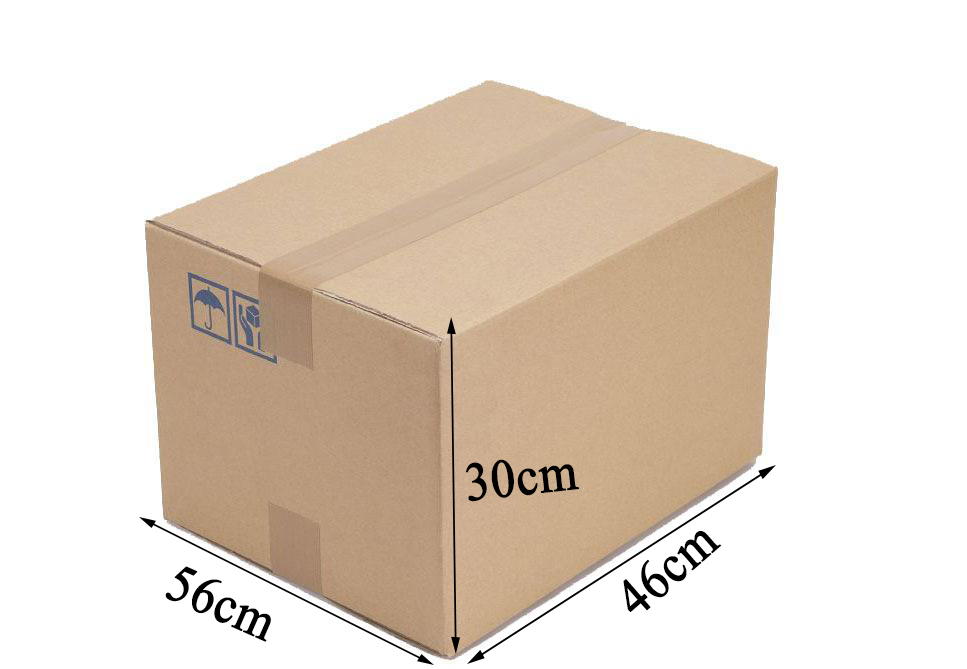
2 -- Outer Package
Material: Carton; 50 Units per Carton

3 -- Accessories
3pcs Screws;
1pcs Certificate of Approval;
1pcs Bracket
This part will guide you how to test the camera when you get the cameras in hands
Step 1: Refer to Camera Parameter
Please find out label on camera houseto get camera key technical parameters before using it:
| Serial Camera Label Introduction | ||
|---|---|---|
| Symbol | Description | Remarks |
| B | Baud Rate of Camera | 9600bps-115200bps |
| V | Voltage of Camera | 3.3V/5V/9-36V |
| C | Camera Serial Port (RS232/RS485/TTL) |
For RS485, check if has camera ID, default “0”. For RS232/TTL, Default ID is “0” |
| L | Lens Focus | 2.8/3.6/6/8/12mm |
Step 2: Connect Camera to PC
Please make sure the camera’s RXD wire and the TXD wire are connected to PC’s TXD wire and RXD wire ;
For RS232 / TTL, make sure Camera GND, Power GND & PC GND wire connected together;
Make sure you get the USB to RS232 Cable if your camera is RS232.
Step 3: Power Camera
Please Power the camera according to the voltage that the camera requires
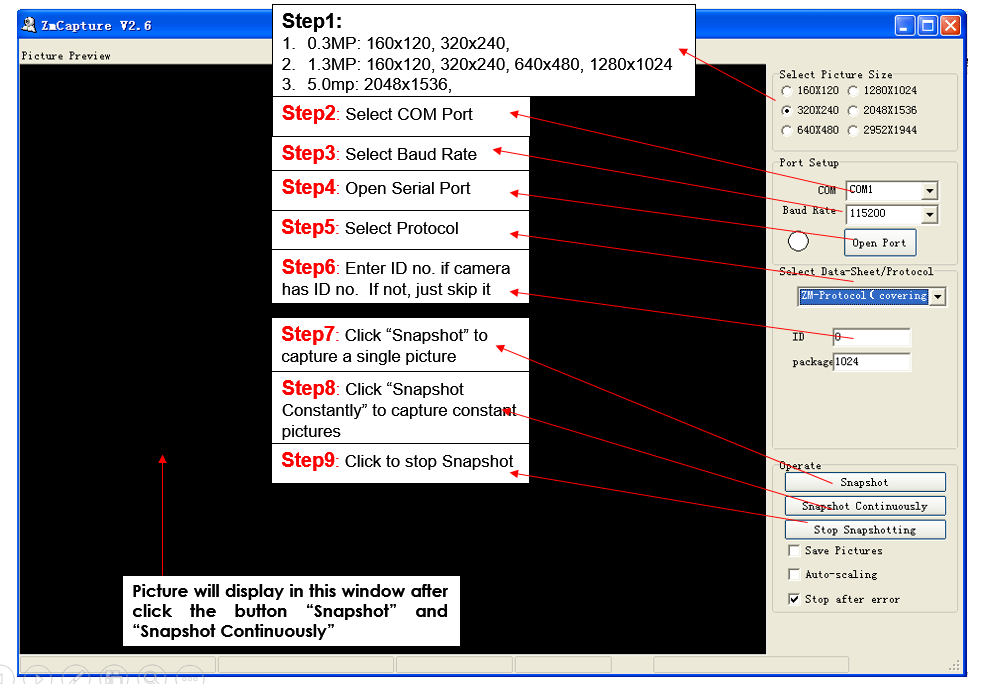
Step 4: Testing with ZMCapture

Please click to Download Resources that you
Next: None


